SFTP is one of the worst named protocols in computing. Like many, I once thought it was an extension of File Transfer Protocol (FTP) that added encryption, but it is not. That’s FTPS. SFTP is an extension of Secure Shell (SSH) and stands for SSH File Transfer Protocol. In practice, SFTP does function like a secure form of FTP. It’s easy to connect to a server using SFTP and I show how with *nix, iOS, and macOS.
The nice part about SFTP is that most desktop environments have native integration. Also, since it’s part of SSH, if you already use SSH to connect to your server then you’re ready to connect with SFTP. I wrote a how-to for setting up SSH on FreeBSD, but these same steps work on Linux or macOS (the only difference is the location of your home folder). You can also use SFTP to connect to a home server using iOS, which unfortunately does not support NFS.
Connect to a Server Using SFTP Server with *nix File Managers
In this example I use Dolphin in KDE, but you will use the same process for most *nix file managers. This includes Thunar (XFCE), Nautilus (Gnome), Nemo (Cinnamon), Files (Pantheon/elementary) and others. I will note that different distros will change the defaults on these file managers so you might have to tweak things a bit. For example, the path bar may not show by default, but you can still enable it in the settings.
When your file manager shows an address bar (similar to a web browser) at the top of the windows, this is the easiest way to connect using SFTP:
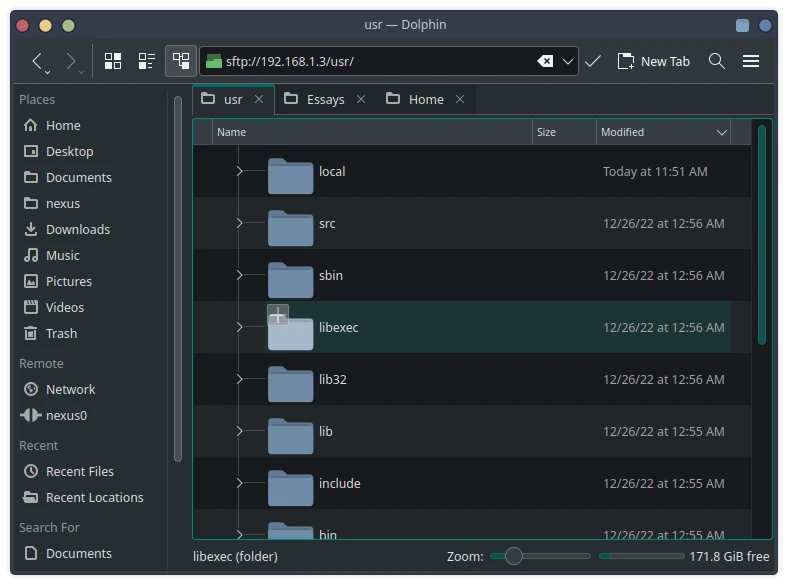
Notice how I just typed in the address of the server using sftp://192.168.1.3:/[path].
If you prefer your windows without an address bar, on most *nix you can find “Network” on the left-hand bar (see image above). From there, you will usually find the option “Connect to Server” or “Connect to Web Server” and this will bring up a dialogue box to enter your SSH credentials.
Password?
Because SFTP is an extension of SSH, this means that your SSH username and password will be your login. If you have an SSH key setup, you just login with the appropriate username and your system will take care of the rest. Pretty much, it’s just like a graphical front end for SSH. Anything you set in /etc/ssh/ssh_config will apply, so if you want to change the default port or the location of your key pair files you can do so there.
On most file managers you will be prompted to input a username and password. If this doesn’t happen and you are denied access, try inputting the address in this format: sftp://username:password@ip-address:/path.
Connect to a Server using SFTP on iOS
By default, iOS will only connect to servers using Samba. If you want to use SFTP (or manage SSH keys, for that matter), you’ll need third-party software. Fortunately, there are plenty of app developers who decided to resolve this issue. On the downside, most cost money. While only apps that provide functionality far exceeding simple SFTP browsing in Files cost a lot of money, it still sucks to pay for something that should be built in.
I used to use Secure Shellfish, but when I went to write this article it appears the latest update has broken this functionality in Secure Shellfish and reserved it for the premium paid app ($39.99 or a subscription).
If you just need to use SFTP a few times, there are some apps with free features, such as Owlfiles and Terminus that will accomplish this (or you could get a basic terminal app, like Blink, and use SCP). It should be noted that these apps are also freemium apps so they advertise features that will only work if you pay.
In this guide I’ll use Owlfiles. If you’re just looking to do simple file transfer in Files, Owlfiles will get it done the easiest.
1. Download Owlfiles from the App Store
2. Open OwlFiles. If you want you can just use Owlfiles as your new file browser. I prefer using Apple’s Files, but to do so we need to create the SSH connection in Owlfiles first.
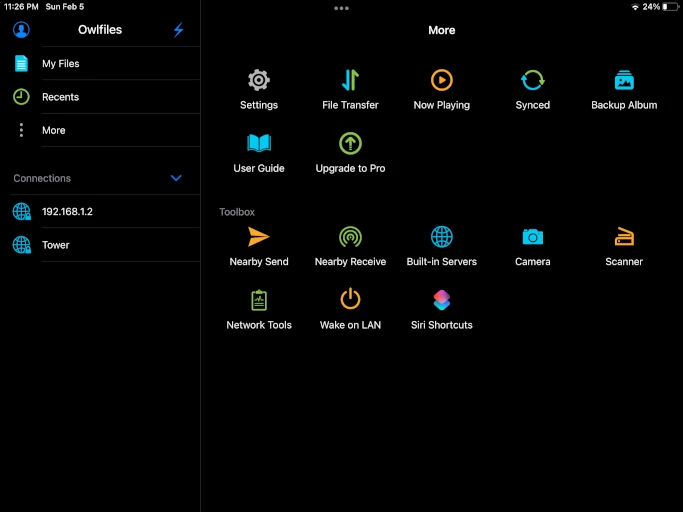
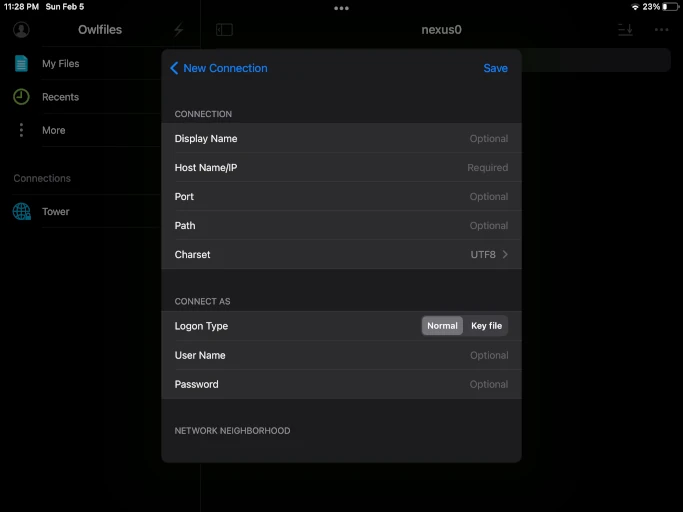
3. Press the lightning bolt icon and select “New Connection.” Now you just have to input your SSH information.
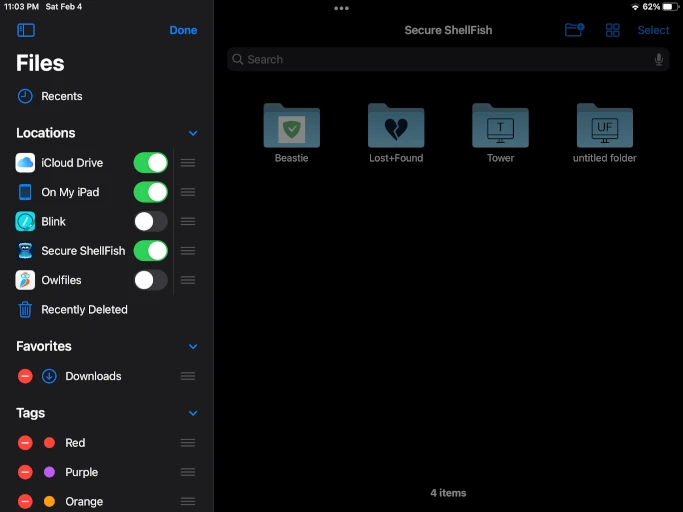
4. Open Files. Select the three dots on the top of the side menu and select “Edit Sidebar.”

5. Now you just have to turn the Owlfiles slider on.
6. Your SFTP connection will now show in Files and you can use it to transfer files.
Connect to a Server using SFTP on macOS (don’t)
It used to be possible to type in ftps://[ip address] and macOS would connect to SFTP but in Ventura I was unable to get this to work. If you type in ssh://[ip address] Finder will just launch the Terminal app and connect to SSH in the command line.
Finder does support FTP, FTPS, NFS, and Samba. If you want to connect to a server using SFTP on macOS, you’ll need to use a third-party application such as FileZilla or CyberDuck.
The other option is to purchase a replacement or extension for Finder. Because this is macOS, I haven’t found any decent free options and the options I looked at seemed to change things a bit too much for my taste. There are a surprisingly large number of these, but most make pretty drastic changes to the window management in macOS.
Conclusion: I recommend setting up NFS or Samba on your server if you want to browse files with Finder.
NFS
- Set up NFS server (FreeBSD)
- Connect to NFS