Webmin is a free web console for your FreeBSD system. It has a lot of neat features that basically provides a web GUI for common server functions. It’s similar to WHM/Cpanel and Plesk, but unlike WHM/CPanel it more works on top of your existing server than taking over the whole thing. The functionality is fairly basic but it can be extended with modules. Here’s how to install Webmin on your FreeBSD system. Note that I’m installing this in a jail with a static IP, so once the jail is set up, this process will be the same as if you install it directly on this system.
Time needed: 30 minutes
Install Webmin on FreeBSD
- Install Webmin from pkg
# pkg install webmin
- Install Extra Python Modules
# pkg install py39-gdbm py39-sqlite3 py39-tkinter
- Run Webmin Installer Script
# /usr/local/lib/webmin/setup.sh
- Enable & Start Webmin
# sysrc webmin_enable=yes
# service webmin start - Go to Webmin in Browser
[ipaddress]:[port]
- [optional] Configure URL
Point URL to appropriate IP address using registrar/DNS server. Set URL as hostname under Networking —> Network Configuration.
- Update Webmin
Webmin —> Webmin Configuration —> Upgrade Webmin
- [optional] Install Usermin
# pkg install usermin
- [optional] Run Usermin Install Script
# /usr/local/lib/usermin/setup.sh
1. Install Webmin from pkg
It might not be the most up-to-date version, but pkg will install all the necessary dependencies.
# pkg install webmin2. Install Extra Python Modules
The install warned me that these Python modules need to be installed separately. This might be necessary, but these are pretty standard.
# pkg install py39-gdbm py39-sqlite3 py39-tkinter3. Run Webmin Installer Script
# /usr/local/lib/webmin/setup.sh
Config file directory [/usr/local/etc/webmin]: [enter]
Log file directory [/var/db/webmin]: [enter]
Full path to perl (default /usr/local/bin/perl): [enter]
Web server port (default 10000): [port number]
Login name (default admin): [select]
Login password: [select]
Password again: [select]
Use SSL (y/n): y
4. Enable & Start Webmin
The first command adds a line to rc.conf so Webmin will start at boot. The second line starts the service.
# sysrc webmin_enable=yes
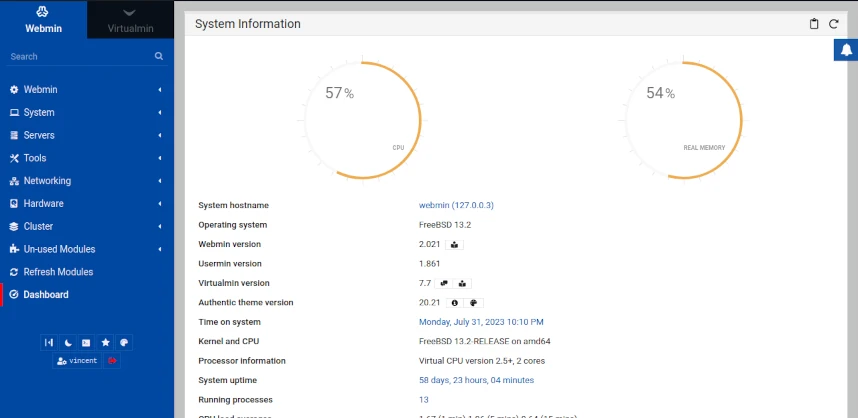
# service webmin start5. Go to Webmin in Browser
Go to your browser and type in the following: [ipaddress]:[port]. So if your IP address is 192.168.8.48 and the port you selected in step 3 is 10000, you would type in 192.168.8.48:10000.
6. [Optional] Configure a URL
If you want to use a web address instead of an IP address, you can! Use your domain registrar or DNS server to point your domain at your IP address. Unfortunately, this is outside the scope of this guide, but you should be able to find instructions in the documentation from your domain registrar or hosting provider. If you’re using webmin on an internal network, you can create a domain for it by setting up a DNS server, but this is a little more complicated.
Next, in Webmin go to Networking —> Network Configuration and enter your URL in the Hostname field. Press Save.
7. Update Webmin
Since FreeBSD doesn’t always have the latest version of Webmin, you’ll want to update. First, go to Webmin —> Webmin Configuration —> Upgrade Webmin. Select “Latest version from www.webmin.com” and then press Upgrade Webmin.
8. [Optional] Install Usermin
Usermin is an optional module for Webmin that allows for greater user management.
# pkg install usermin9. [Optional] Run Usermin Installer Script
# /usr/local/lib/usermin/setup.shWebmin is Now Installed!
You can now use a web interface for most of your common server maintenance. Note that another way to extend the functionality would be to install Virtualmin (# pkg install virtualmin).
Personally, I’m not quite sure how I feel about Webmin. Originally my hope was to use it to simplify the task of running an email server but this does not appear to be very straightforward. It has several options for mail servers, but it’s not a particularly user-friendly setup. Most of the other stuff it does I find easier to do in the command line. I’ll give it a whirl and if I find it useful I might write about it more.